Select, Click, Rename
To rename selected files
and folders press Ctrl-R, select Actions > Rename >
or click the command button.
Then select the appropriate tab for how you want to rename your
files.
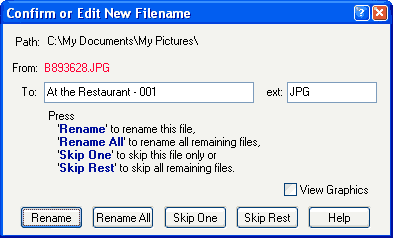
After pressing OK, each file will be presented
for confirmation until you press Rename All on the
confirmation dialog.
Note that when you press the OK button to rename, only the options
in the current panel will be used to rename the files, preventing
unexpected results.
Check out the
Sample field at the bottom of the
relevant panels. It will change to show the effect the options have
on a sample file name.
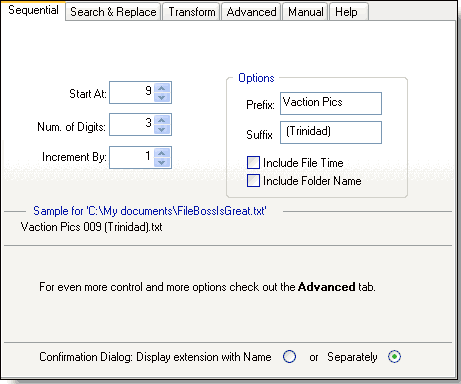
Renaming Files Sequentially
Create new filenames for the
selected entries based on sequential number with the option to add other
common information.
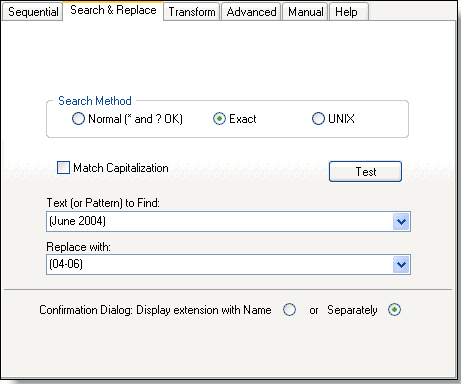
Replacing Specific Text
Find text or a pattern
that you specify and replace it with some other text.
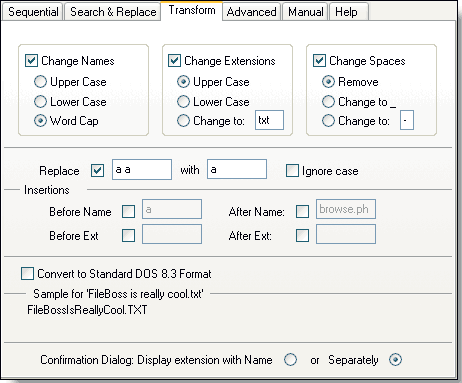
Transformations
Quickly set all names,
extensions or both to lower case, remove spaces, convert spaces to
underscores, insert text, replace text and more with just a couple
of clicks. And FileBoss will remember the your recent settings so
you can do it over and over and over again.
The Convert to DOS 8.3 Format
option renames files to their true 8.3 format meaning that their new
name will be exactly the same as their current 8.3 name. Due to the
internals of Windows this requires a double-pass renaming routine that
most other programs don't both with.
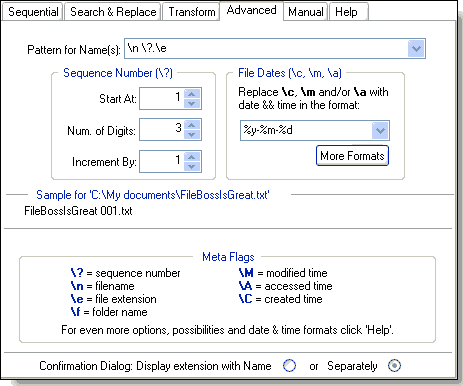
Advanced
The Advanced panel allows
sophisticated renaming with the ultimate in control over the format and
content of the new filenames.
The Confirmation Dialog
Note that unlike most
rename dialogs FileBoss uses two fields for the filename: one for
the main name and one for the extension. This makes it much easier
to change part of the main name without having to worry about
accidentally changing the extension.
But if you would rather have both together simply set the
Confirmation Dialog: Display Extension with Name option that
is near the bottom of all the above rename panels
|